Introduction: New Roof, Big Decision
Getting a new roof isn’t something most people do often — and that’s a good thing! But when the time comes, the whole process can feel like a mystery. If you’ve never replaced a roof before, you might picture a crew showing up, tearing off some shingles, slapping on some new ones, and leaving before dinner. It’s actually a bit more involved than that — and it should be if it’s done right. Whether you’re planning ahead or already have leaks showing up on your ceiling, this guide will walk you through how shingle roof installation really works. We’ll break it down step by step in plain English, like you're chatting with a neighbor who’s been through it all. And if you’re in Texas, keep reading — because Shingle Roofing Contractors in DFW Metroplex TX know a thing or two about how to get it done right in this wild weather.
Step 1: Inspection and Planning — Before the First Nail
The whole process starts with someone taking a really good look at your existing roof. A professional contractor won’t just eyeball it from the street. They’ll get up there, check the shingles, look for soft spots, and even peek in your attic if needed. They want to see what’s going on under the surface. Why it matters: Some roofs look okay on the outside but are hiding water damage or poor ventilation underneath. If you’re spending thousands of dollars on a new roof, you want to make sure the foundation is solid.
This step usually includes:
- Measuring your roof’s size and slope
- Checking for damaged decking or mold
- Looking at your ventilation setup
- Discussing your material and color preferences
This is also when the contractor gives you a quote and a timeline — and you get to ask questions. Don’t be afraid to ask a lot of them. A good contractor will appreciate it.
Step 2: Tear-Off — Out with the Old
Now comes the part where the roofers get to work. They’ll start by removing your old shingles layer by layer. This part gets messy, but it’s one of the most important steps. Why? Because skipping a proper tear-off can lead to problems later. Some companies offer to put new shingles over old ones — but in DFW, where roofs face extreme heat, wind, and hail, that shortcut rarely ends well. Re-roofing over old layers can trap moisture or hide damage underneath.
During this step:
- Old shingles are removed
- Flashings and vents are taken out (unless they’re in good condition and can be reused)
- The underlying wood (roof decking) is inspected
- Rotten or weak boards are replaced
It’s like clearing the canvas before painting — everything that follows depends on this foundation.
Step 3: Underlayment and Prep — The Protective Layer
Once the roof is stripped down and solid, it’s time to prep it for the new shingles. First, roofers install an underlayment — a protective layer that goes between the wood and your shingles. Think of it like a moisture barrier or a rain jacket for your roof. Depending on the slope of your roof and the weather in your area, they might use a synthetic material, felt paper, or ice and water shields in critical spots (especially in valleys or edges where water collects).
At this stage, the crew will also:
- Install drip edges along the eaves
- Add starter shingles at the edges to hold the first rows in place
- Make sure the ventilation and flashing layout is ready for the new setup
This prep work makes sure your roof doesn’t just look good — it holds up against the unpredictable DFW skies.
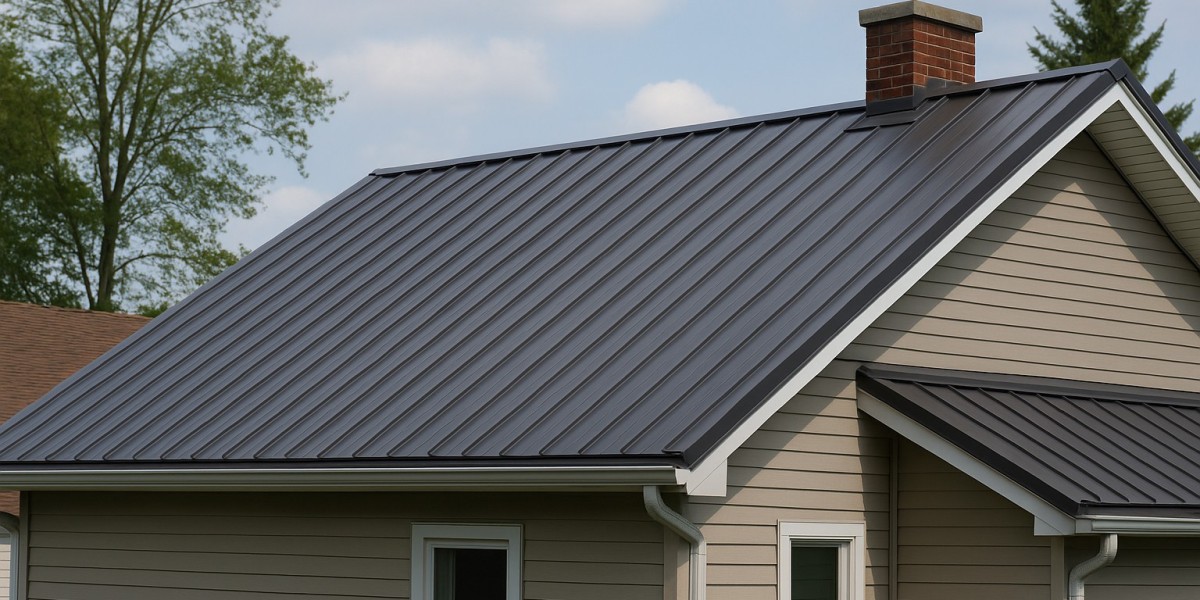
Step 4: Shingle Installation — The Main Event
Now we get to the part everyone pictures — installing the shingles themselves. This part is methodical. Roofers start from the bottom and work their way up, laying shingles in overlapping rows. Every nail is placed carefully to make sure the shingles stay put during storms but also allow for proper water runoff. Here's a look at how the full process lines up:
| Step | What Happens |
|---|---|
| Roof Inspection & Planning | Measuring, checking condition, choosing materials |
| Tear-Off | Removing all old shingles and inspecting roof decking |
| Underlayment & Flashing | Moisture barriers, drip edges, and base layer installation |
| Shingle Installation | Laying new shingles row by row, sealing around vents & edges |
| Final Touches & Cleanup | Ridge caps, gutters (if needed), site cleanup, final review |
Depending on the size of your home and weather conditions, shingle installation usually takes 1 to 3 days.
Quote to Keep in Mind
“The quality of your roof comes down to what you don’t see — it’s all about the layers underneath.”
Final Step: Clean-Up and Inspection
Once the last ridge cap is nailed in, a good roofing team doesn’t just pack up and disappear. They’ll walk the property, clean up nails and debris, and do a final inspection with you to make sure everything looks right. This is when they might also explain your warranty, answer any last-minute questions, and give you tips on roof care — like cleaning out your gutters or scheduling annual checkups.
Why Local Matters: Trusting DFW Roofing Pros
When it comes to roofing in Texas, local experience matters more than you think. Shingle Roofing Contractors in DFW Metroplex TX aren’t just familiar with shingles — they understand the storms, the sun, the codes, and the insurance headaches that come with this region. Hiring a local pro means:
- Faster response time if problems come up
- Familiarity with Texas building codes and HOA rules
- Real references from homes in your own community
- Long-term accountability (they’re not skipping town after a storm)
And most of all, they know what type of shingles hold up best in our weather — which can make a big difference in how long your roof lasts.
Conclusion: The Roof Over Your Head Deserves the Right Start
Getting a new shingle roof isn’t just another home improvement project. It’s a big investment in your home’s safety, comfort, and value. And knowing how the process works — from inspection to final cleanup — gives you the confidence to hire the right team and ask the right questions. A proper installation done by experienced Shingle Roofing Contractors in DFW Metroplex TX can mean the difference between a roof that lasts 10 years… and one that protects your family for 30.
So when it’s time to make that call, don’t rush it. Do your homework, ask around, and choose someone who cares as much about your roof as you do.